It is common to log in to the cloud servers using a username and password-based authentication. But if you configure a weak password within the cloud servers, hackers may be able to gain access to your servers by performing a brute force attack. Many of our customers were surprised to see the number of failed SSH login attempts within their cloud servers. So, It is highly recommended to use the SSH key-based authentication method over the password-based authentication wherever possible. This improves the security of your cloud servers since the SSH key-based authentication provides stronger cryptographic strength that even long passwords can not offer. Another advantage is that you do not need to remember or write down the complex passwords for your multiple cloud servers anymore. The steps below will show you how to generate an SSH key pair in Windows environment.
Popular cloud service providers such as Amazon Web Services, Google Cloud, and Microsoft Azure platforms will force you to use the SSH key-based authentication by default while launching the new VMs. The Digital Ocean platform recommends using SSH key-based authentication while creating the new droplets. So we have decided to write this article to help our customers who are just getting started with the Linux-based cloud servers.
Each SSH keypair will include two files:
Public Key: The content of this file needs to be copied to your cloud servers.
Private Key: This file remains within your computer. The user(s) in possession of a private key corresponding to the public key at the server will be able to log in successfully. You need to ensure that the private key is protected with a passphrase (We will show you how) for improved security.
Multiple methods exist to generate the SSH key pair within a Windows 10 computer. We will explain the steps that need to be followed to create the key pair using the Puttygen and Bitwise SSH client software.
Method 1 (Recommended) – Generating the SSH key pair using the Bitwise SSH client software:
One of the most significant advantages of using the Bitwise SSH client software is its advanced SFTP graphical user interface. Using the Bitwise GUI, you can easily manage the files located within your cloud servers without needing the command line expertise. Bitwise SSH client also lets you create multiple server profiles and easily manage all of your servers from one interface. Please visit the following URL and download the Bitwise SSH client software:
https://dl.bitvise.com/BvSshClient-Inst.exe
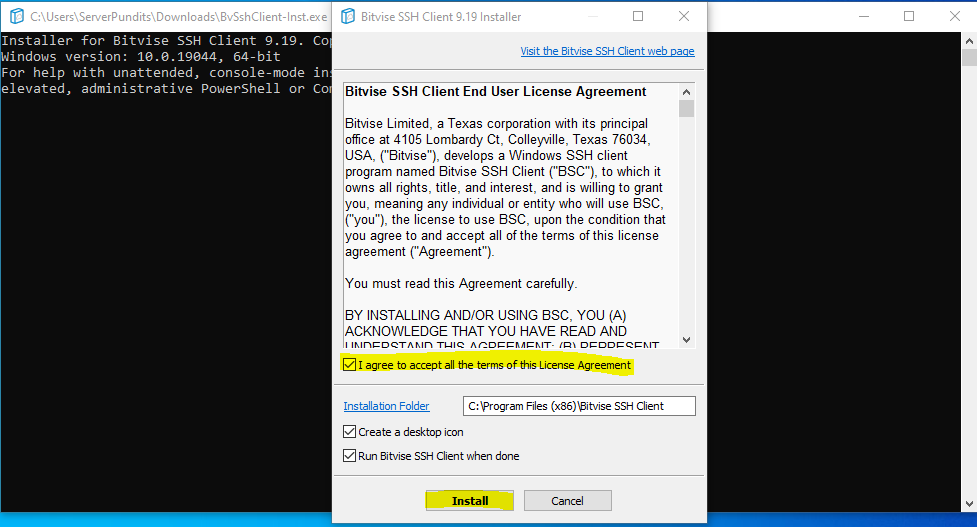
After downloading the installer, please double-click on the downloaded .exe file to start the installation process. Please accept the license agreement on the resultant window and then click on the “Install” button.
Depending on your computer, it may take a few seconds to complete the installation process. After finishing the setup, the installer will show you a success message and create a new shortcut – ‘Bitwise SSH Client’ within your desktop.
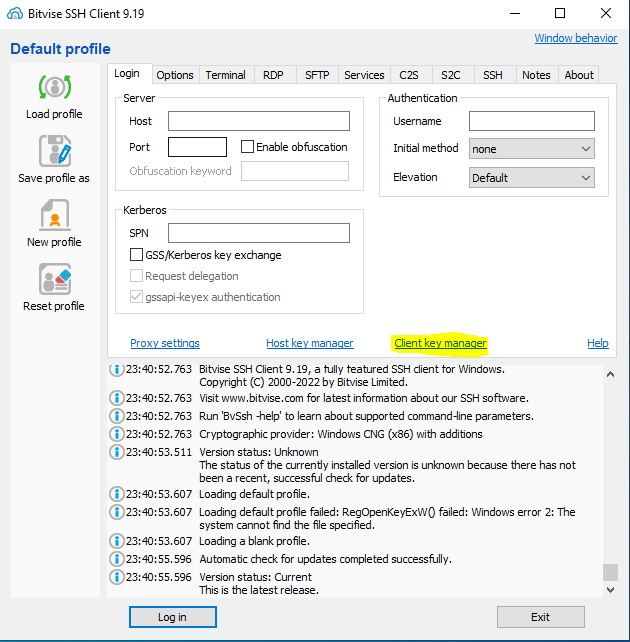
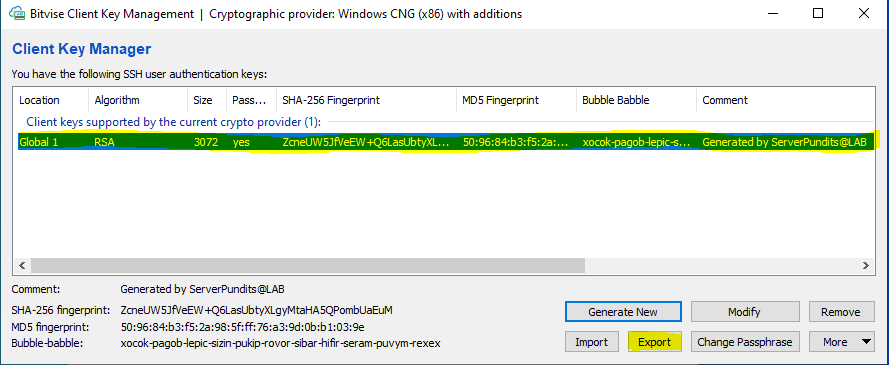
The next step is to generate the SSH key pair using the Bitwise SSH client software. After opening the Bitwise software, please click on the ‘client key manager’ option.
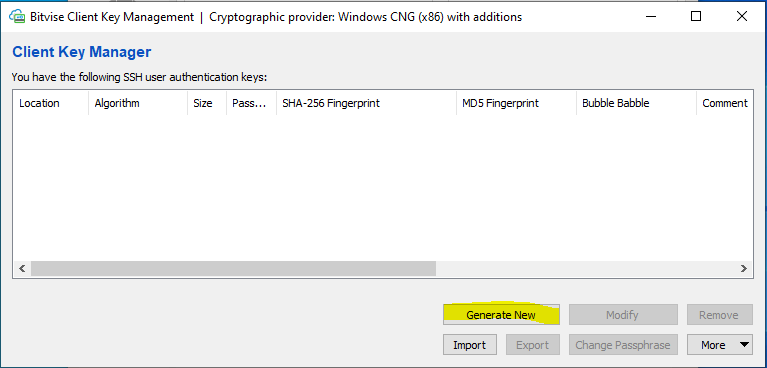
Then, click on the ‘Generate New’ button from the ‘Client KeyManager’ window.
Within the ‘Generate New Keypair’ window, please update the following information:
- Passphrase
- Confirm passphrase
- Comment
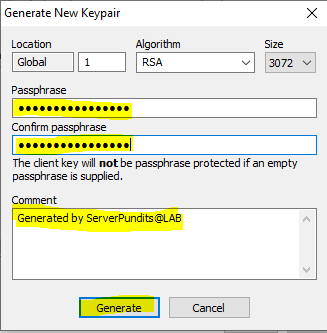
After updating the information, please click on the ‘Generate button.’ It may take a few seconds, depending on your computer configuration. After generating the key, Please click on the ‘Export’ button.
Please choose the ‘Export public key’ option on the resultant window and select the ‘OpenSSH format’ option. Then click on the Export button to save the public key file within your computer.
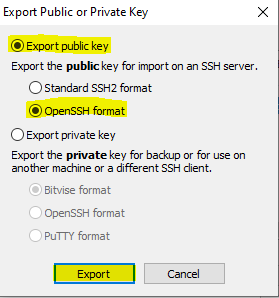
You do not need to export the private key file if you use the Bitwise SSH client software to manage your cloud servers. Bitwise software will handle the private key using the ‘Client key Manager’ feature and automatically chooses the suitable private key file while establishing the SSH connection.
Method 2 – Generating the SSH key pair using the Puttygen software:
You need to download the PuTTY software installer from the following website first:
https://www.puttygen.com/download-putty
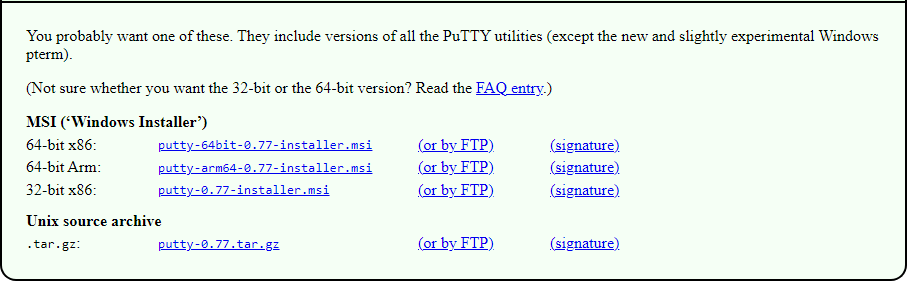
After opening the above URL within your Internet browser, please scroll down and look for the ‘Download PuTTY for Windows Operating System’ section. Then, choose the appropriate windows installer version (32-bit or 64-bit ) and click on it.
After downloading the installer, please follow the steps below to install the Puttygen software on your computer:
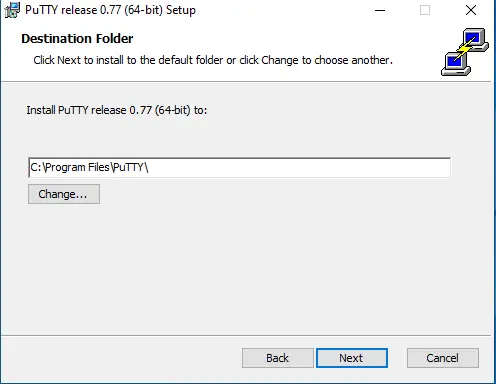
Double click on the downloaded .msi file to start the installation process.
On the resultant window, click on the ‘next’ button and leave the default path for the installation
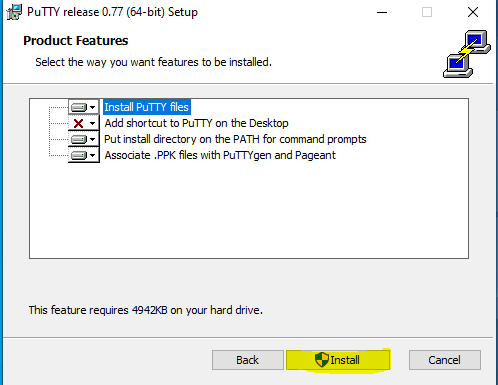
Next, click on the ‘install’ button.
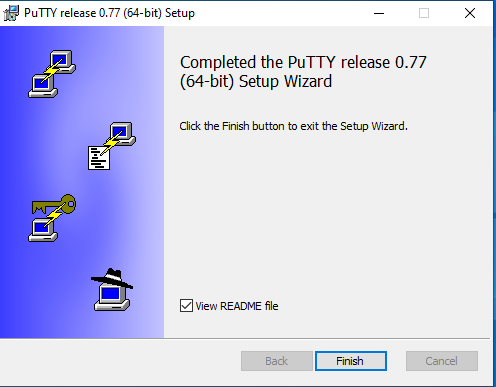
Click on the ‘Finish’ button to complete the installation process.
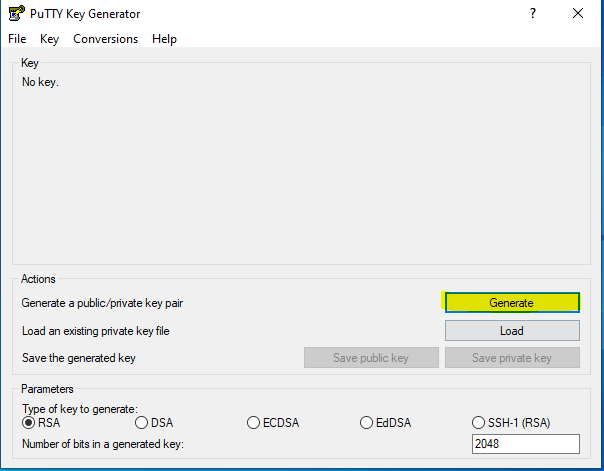
You have successfully installed the Puttygen SSH key generator software within your Windows computer. Now, please open the ‘PuTTY Key generator’ software so that we can generate the key files. After opening the software, please click on the ‘Generate’ button.
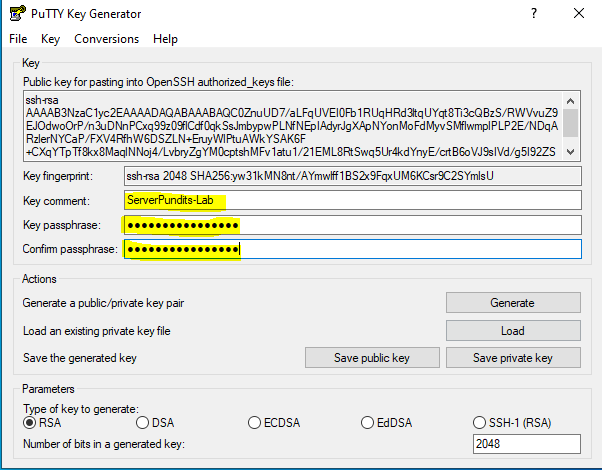
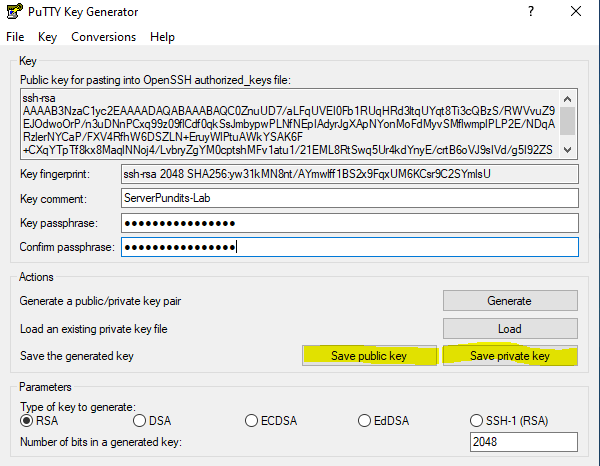
It might take a few seconds to complete the key generation process depending on the configuration of your computer. To speed up the key generation process, it is advised to randomly move your mouse pointer over the blank area of the PuTTY key generator software. After generating the key, you are required to update the following information:
- Key comment
- Key passphrase
- Confirm passphrase
You have successfully generated the SSH key pair using the PuTTY key generator software. You need to export the public and private key files for further use. Click on the ‘Save Public Key’ and ‘Save Private Key’ options to export the SSH keypair files.
Please make sure to name the public and private key files appropriately so that the file names will not confuse you at a later stage. Please do not share the private key file with anyone. You can share the public key file with your server administrator/developer so that they can trust it within the servers and grant you secure SSH access.
You can use the above public key within different cloud platforms such as Github, Bitbucket, Amazon Web Services, Google Cloud, Digital Ocean…etc.
Server Pundits team recommends you make sure that your cloud server is configured to accept the key-based authentication and password-based authentication is disabled within the SSH server configuration file. You can reach out to our support team if you require further assistance.